Some one in the weather forecast place got it right for a change. It was the first sunny day in over a week, so I moved the bike around to the back yard and replaced the rear shock.
The RH side case, the seat and the RH side cover all need to come off before you can start. A jack is needed (hydraulic in my case) to support the drive unit and take the load off the shock while working on the bolts.
The manual says to remove the upper and then the lower bolt but I found it prudent to loosen both before doing so. I had no trouble removing either bolt after being in place for 14 years but I did spray some WD40 on them before starting.
When the old shock was out I could see that the oil had indeed leaked past the seal causing the spring to work on its own.
Next up was the greasing up of bolts etc and locating the new shock in position. Top bolt was fairly easy but the bottom wasnít. So out with the shock to see what was happening. Progressive supply two washers and the one nearest the wheel must have slipped a little stopping the bolt from going into the thread. A little extra grease to hold the washer in place helped and the lower bolt went in. Put the top bolt in and tightened both up.
I measured the free sag before I removed the old shock (just for comparison) and it came to 14.25 inches and the new one was 14.5 I increased the pre-load up about 3 turns and tightened up the lock ring. As advised by the instructions I set the dampener to no. 3 as a starting point. The OEM pre-load adjustment tool is still usable on this shock and I used the one supplied and the OEM one both together to tighten the lock ring.
Next I sat on the bike and Heather measured 13.5 inches which is about where it should be and then I went for a ride around the block. The bike seemed ok but I rarely ride solo these days so I got Heather on the bike and we went for a little ride around town.
The state of our roads arenít the best but I found the worst of the bumps and a couple rail tracks which is a good test for the rebound which Heather gave the thumbs up for.
On Thursday we have to go to Port Augusta to see Heatherís sister so Itíll be a good road test being a 250km return trip. I will need to fine tune the adjustment and only by riding will I know by how much since it's all trial and error but so far so good.
Old OEM shock compared to the Progressive one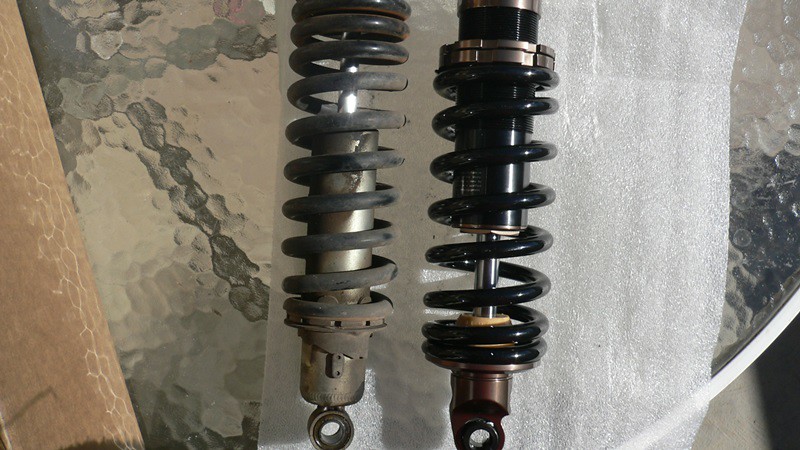 2013_0724Progressive-Shock0004
 by
Alan, on Flickr
Pretty grimy in there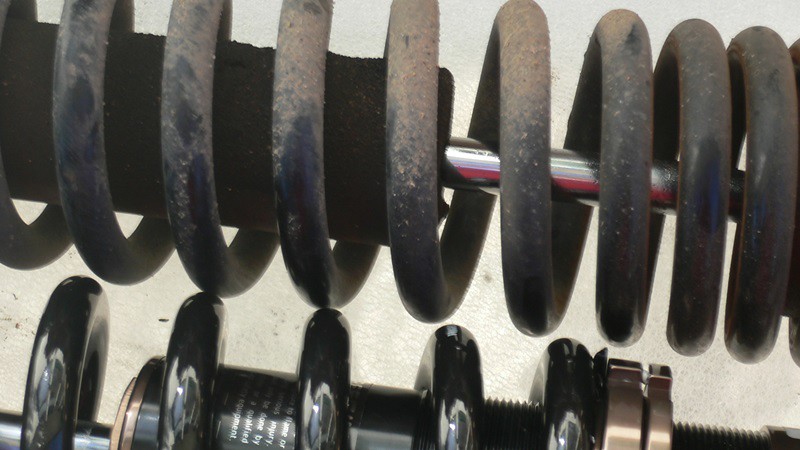 2013_0724Progressive-Shock0005
 by
Alan, on Flickr
The old rear shock is out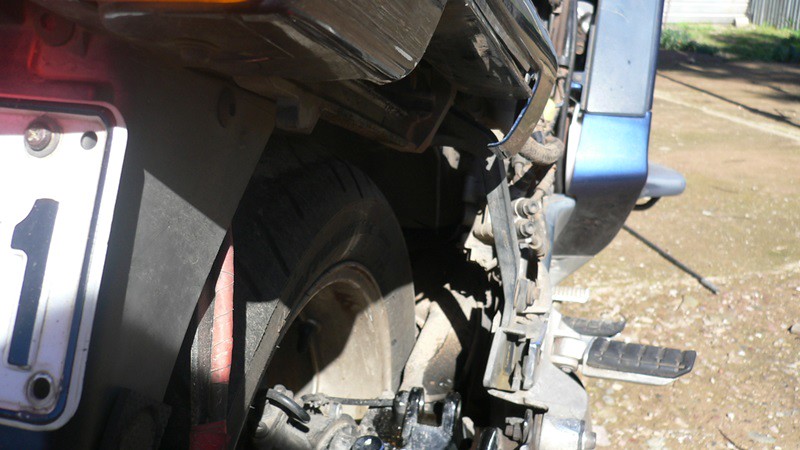 2013_0724Progressive-Shock0006
 by
Alan, on Flickr
From the RH side 2013_0724Progressive-Shock0009
 by
Alan, on Flickr
The new shock in place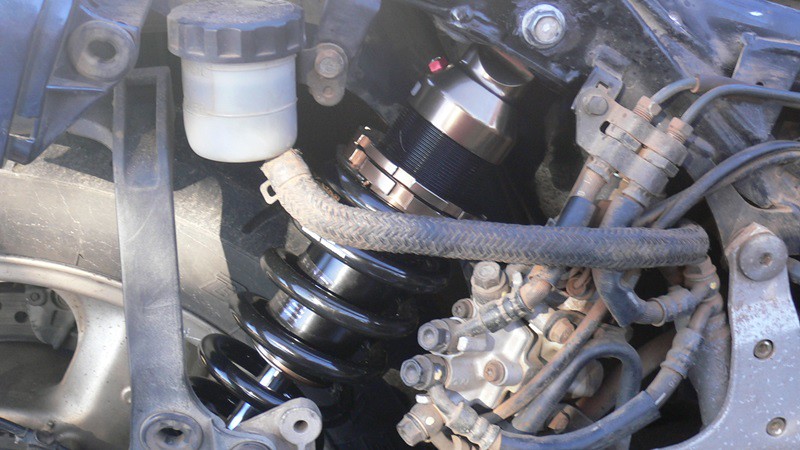 2013_0724Progressive-Shock0011
 by
Alan, on Flickr
View from the rear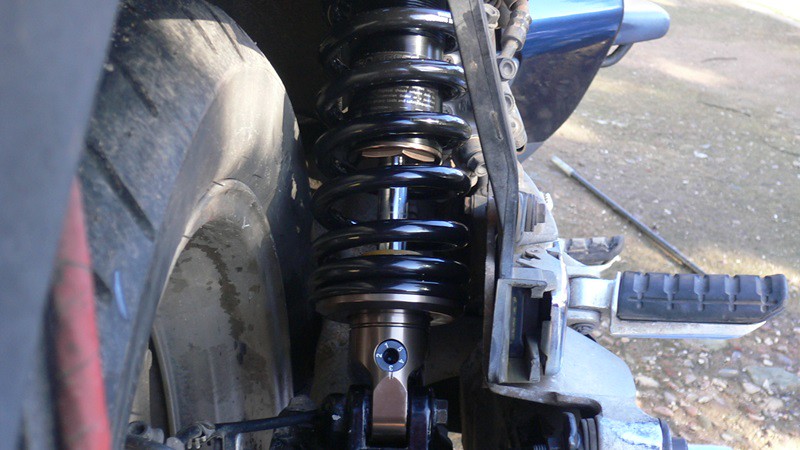 2013_0724Progressive-Shock0012
 by
Alan, on Flickr
Looking in from the top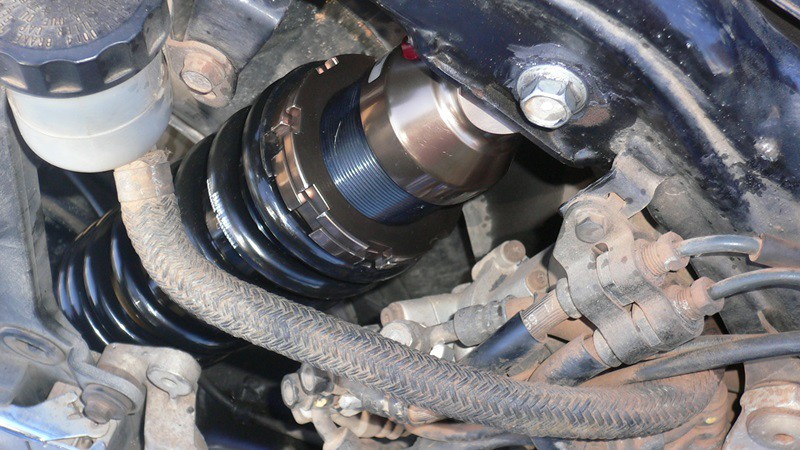 2013_0724Progressive-Shock0013
 by
Alan, on Flickr
There's ample room to adjust the pre-load on my ABS model as the ABS modulator isn't as large as the coolant tank on the base model.
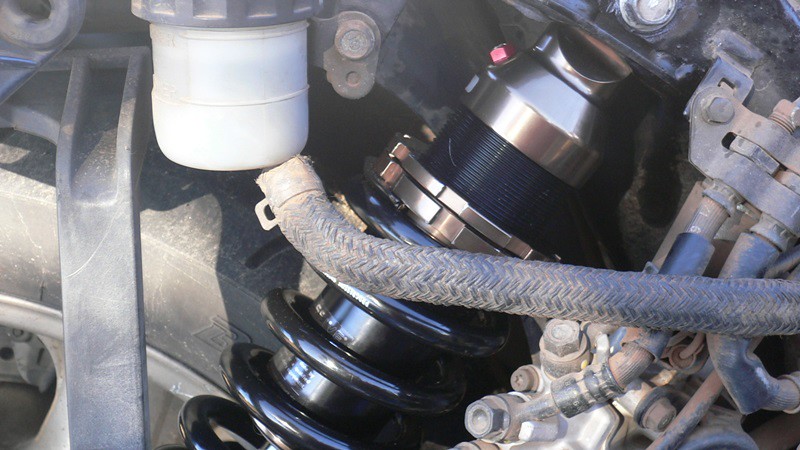 2013_0724Progressive-Shock0014
 by
Alan, on Flickr