After making sure the wiring worked for the GPS and the DC socket worked over here
http://ozstoc.com/index.php?topic=12998.msg1247943#msg1247943 it was time to add the Migsel mount.
When I first looked at the parts for this and read up on the install it was at first thought going to be a difficult task and maybe it is if some of the related bike parts are in place but I found it quite easy.
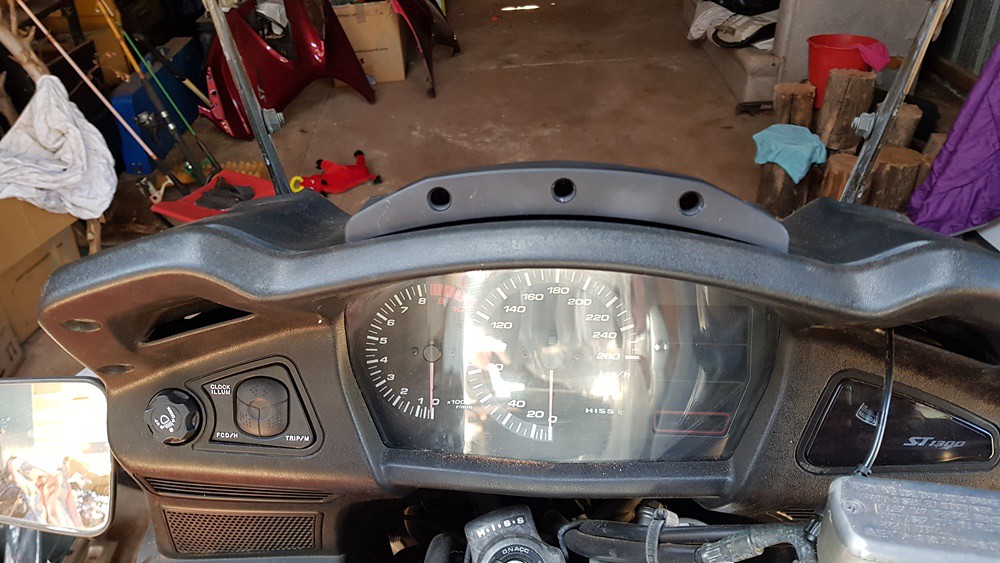
First up was the inserts for the bolts which might be the cause of most of the angst with this install. I found them easy and with an interference fit so they stay in place.
 20181223_133020
 by
Alan, on Flickr
 20181223_133029
 by
Alan, on Flickr
After putting the black panel back in place (not yet secured) it's just a matter of holding the mount on top while you put the two bolts in and then tighten them up with an Allen key.
 20181223_134039
 by
Alan, on Flickr
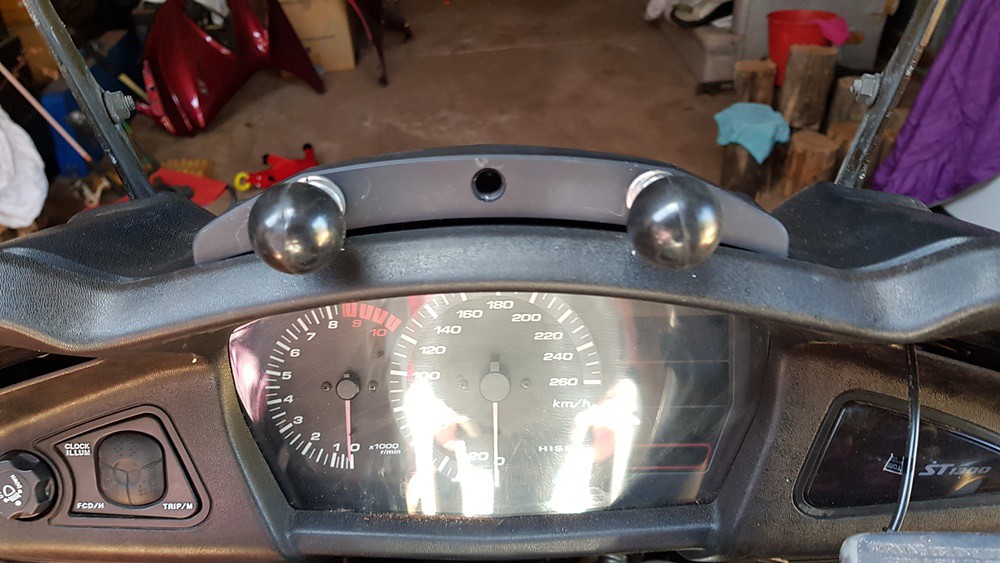
Installed view from the rear
 20181223_134050
 by
Alan, on Flickr
The mount comes with a 1 inch threaded ball mount but I ordered another for the phone mount when I ordered the second GPS power cradle though I may order another ball mount and use the centre spot for the GoPro cam. The centre hole as a plastic insert in it which I added after the photo was taken.
 20181223_134725
 by
Alan, on Flickr
TomTom Rider 450 power cradle mounted in place though will need some adjustment as required when the screen is mounted back in place.
 20181223_135007
 by
Alan , on Flickr
When I installed the wiring for the GPS I used an available hole space as I didn't want to drill a hole in any parts
 20181223_135015
 by
Alan, on Flickr


