Finally finished this off today.
The other day I made sure the panel charged the battery and before going to far I today I made sure the battery was powering the twin power socket.
With that little test out the way I could mount the regulator and I chose the rear trailer panel. I only needed to drill three holes as I took advantage of one of the bolts used for the added reflector I installed.
All the wiring connected and the regulator as mounted on the rear of the trailer. The battery can be used in any position so I chose to lay it flat. Just need to secure it in place for the rare time the trailer is actually empty.
I'm considering getting some carpet off cuts to place along the rear to hide all the wiring and bolts.
 DSC_1124
 by
Alan Williams, on Flickr
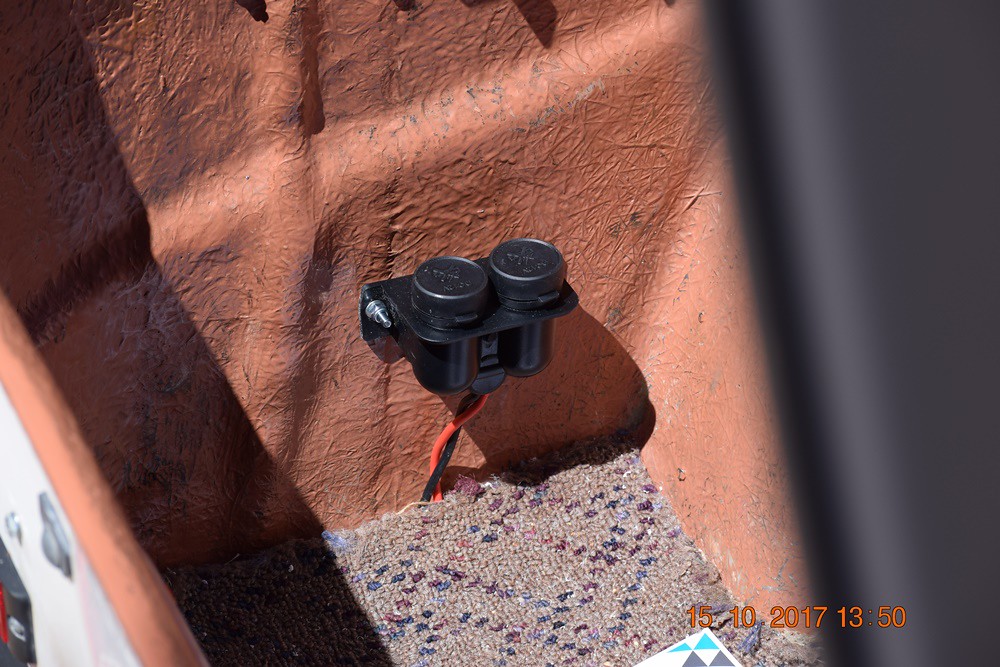
Power socket located behind the rear wheel and low enough to keep the most of the wiring under the carpet.
 DSC_1125
 by
Alan Williams, on Flickr
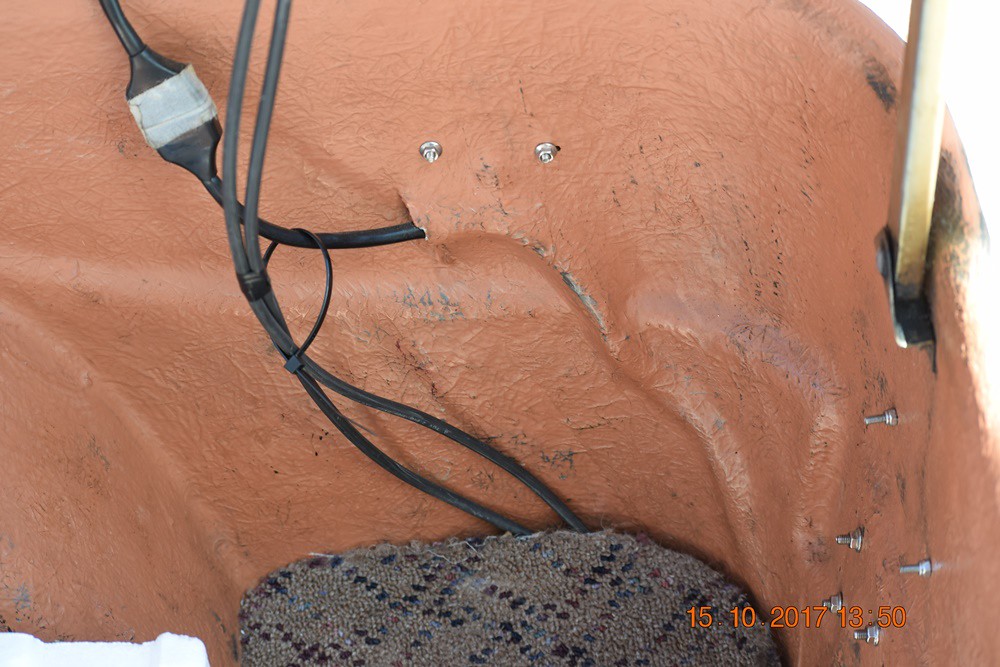
A zip tie controls the new wiring when the lid closes. Loosely secured to the OEM internal trailer lid light wire.
 DSC_1126
 by
Alan Williams, on Flickr
Once the panel was reinstalled and all the connections made I tested the system by charging up our laptop. I have a 12 to 240 volt inverter so I plugged that in and then the laptop via it's 240 volt charger and it all works. Just need to get the laptop's car charger for permanent usage.
I found a couple of spacers and added a couple of washers/nuts when securing the panel to the trailer lid. Hardware store up here didn't have anything I could use so I used what I could find.
 DSC_1127
 by
Alan Williams, on Flickr
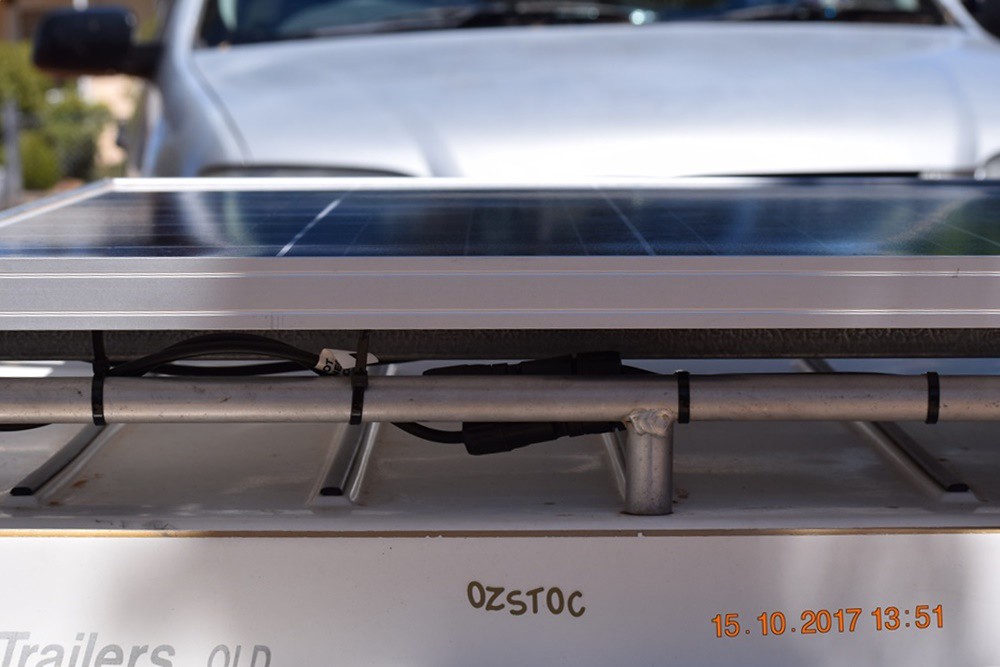
External wiring secured to trailer rack. Wiring connector in the centre to allow for trips when I don't need to have the panel.
 DSC_1128
 by
Alan Williams, on Flickr