After 87,000 kays, I figured Ruby deserved a new fuel filter to drink her juice through.
Abe helped with the required parts list:
16900-MBG-013 16900-MBG-013 FILTER, FUEL $37.91
17574-MN5-000 17574-MN5-000 GASKET, BASE $5.28
90428-PD6-003 90428-PD6-003 WASHER (12MM) x2 = $4.98
Those prices are from Powersports Plus in USA. Shipping was $39 (weight was about 100g), all US$
It took about 3 weeks for the parts to arrive.
Pages 5-55 and 5-58 in the Manual are very helpful.
To do: remove the seat, remove the seat mounting bracket (will require pulling the bolt that holds the rear of the tank). When I've had this bracket out before I found the bolts were under considerable tension due to the angle of the frame. The LH side has small slots that help, but I also drilled the RH holes out 1mm larger which made reassembly very much easier.
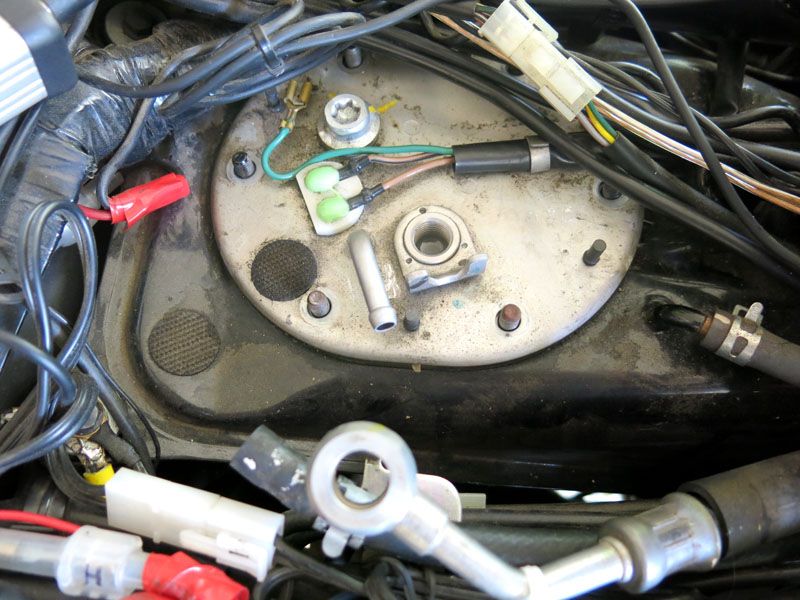
Remove the vent hose. Disconnect the power line (a tight clip on the LH side- requires the centre of the clip to be depressed to release). Undo the banjo bolt- 8mm Allen key. Now it looks like this:
Undo the six nuts, noting the two dome nuts' location.
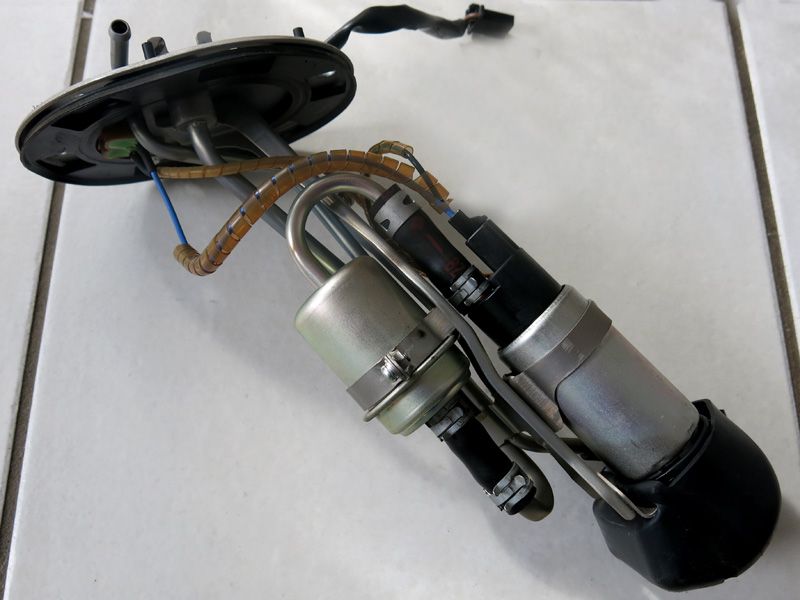
Lifting the unit off the tank is inhibited by the very heavy cable on the LH frame. I undid the tie to help move it, but it's very uncooperative. Using a screw driver as lever helps get it clear and the whole unit lifts out. You've seen a dirty one (Hammer's). Here's a normal one:
The pump draws its fuel through a type of steel wool, so in effect it's double filtered:
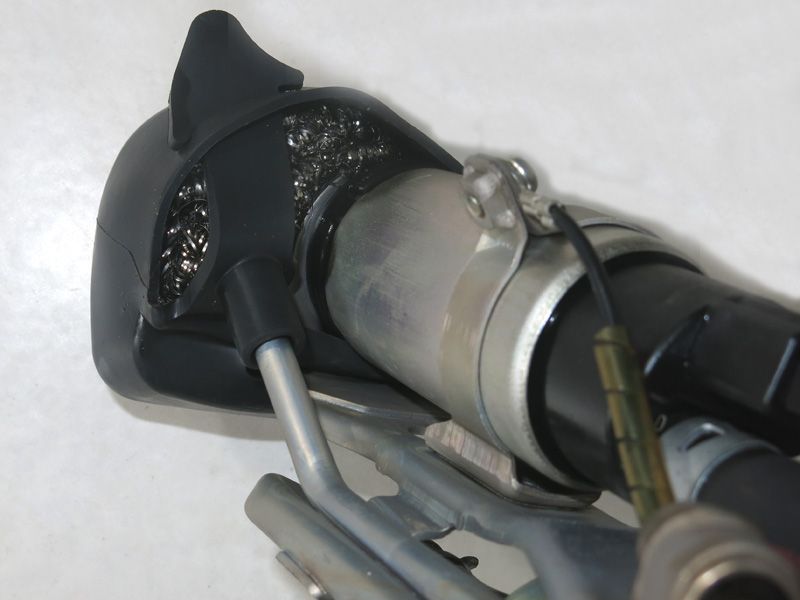
This sits right in the bottom of the front of the bottom tank. Got that?

I inspected there and found a tiny amount of debris, half of which attached to a magnet stick I offered it.
Undo the clamp screw on the filter and bend the arms away. Slide the hose clamps to the centre of the two short hoses and pull the filter away from the pump and outlet pipe. The very best of British with that!! Using wide screw drivers as levers helps.
Put the new filter in, slide the clips back to the ends and tighten the clamp.
Remove the old gasket and install the new one. It's fool-proof as well as fuel-proof. The dimples will not let you go wrong. Slide the unit back in, negotiating that cable carefully. Put the 6 nuts on finger tight. Page 5-55 shows the correct tightening sequence- basically work to the opposites. The required torque is very low- 108 in/lb, which is at the bottom of its scale on my wrench. The banjo coupling takes two special 12mm aluminium washers that have to be replaced every time the bolt is undone. The torque value on the bolt is 192 in/lb. The tricky part is having an 8mm Allen key that will fit your torque wrench. My hammer/nut breaker has 8mm bits that I was able to drive with a suitable socket to fit the 3/8" torque wrench.
Reconnect the vent hose and power line and reinstall the seat bracket and seat.
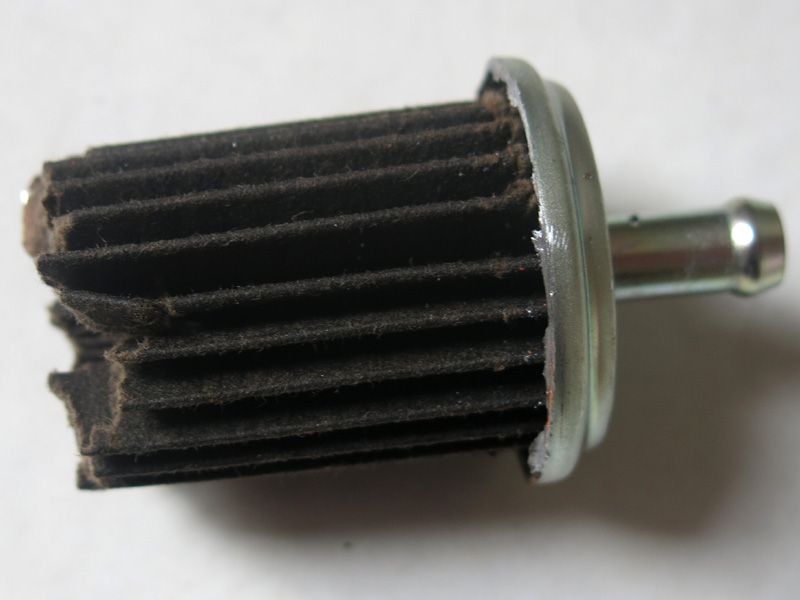
I cut open the filter. Inside the $38 steel case it's just a $3 paper filter. There were no visible solids, but what I expect would be a pale coloured paper was a very dark brown, so I think it was ready for replacement.
Edited for typo


